
How to Use Henna Hair Dye
Applying henna hair dye is a lovely, messy, hippy process. The idea is to get as much on the hair as possible without getting too much on the floor, yourself or in your ears.
How much henna should you use?
Each brick is designed to be enough for one head of shoulder-length hair, but if your hair is very thick, curly or coily, you may need more than one. You want to be able to slather it on generously rather than get stingy towards the end so if in doubt, get more!
Here’s what you’ll need:
- Your henna brick (you may need more than one if you have a lot of hair or it’s very thick)
- A kettle
- A bain-marie or glass heatproof bowl and a stirring spoon
- A pair of marigold gloves
- Conditioner and a shampoo or co-wash
Recommended extras:
- A friend (having someone else apply your henna will give the best results)
- Tinting brush
- A protective balm, like Ultrabland, to apply to your hairline
- A shower cap or hair wrap if applying Vénitien, Rouge or Marron
- Clips to section your hair if it’s long
How to do a strand test?
Check you’re happy with your colour by doing a strand test. Gradually add a little freshly boiled water to a small amount of henna and stir until you have a lovely creamy paste. Apply to a section of hair about half an inch wide (including twinkly grey hairs if you have any). Leave to develop for two hours, then shampoo, rinse and dry. Your shade will continue to develop for up to 48 hours after you apply it.
How to do a whole-head application?
The paste is best kept nice and hot while you apply, so if you own a bain marie, that would be really good (but a heatproof bowl in a saucepan of boiled water will do). Please don’t put it in the microwave. May we also suggest that your hair is dry and free of tangles.
Step 1. Break down your brick however you like and gradually add in freshly boiled water. Like chocolate, your henna contains cocoa butter and it will melt as you stir, but don’t be impatient. You don’t want it too wet – it should be a lovely creamy paste with the consistency of hummus (sorry not to be more precise).
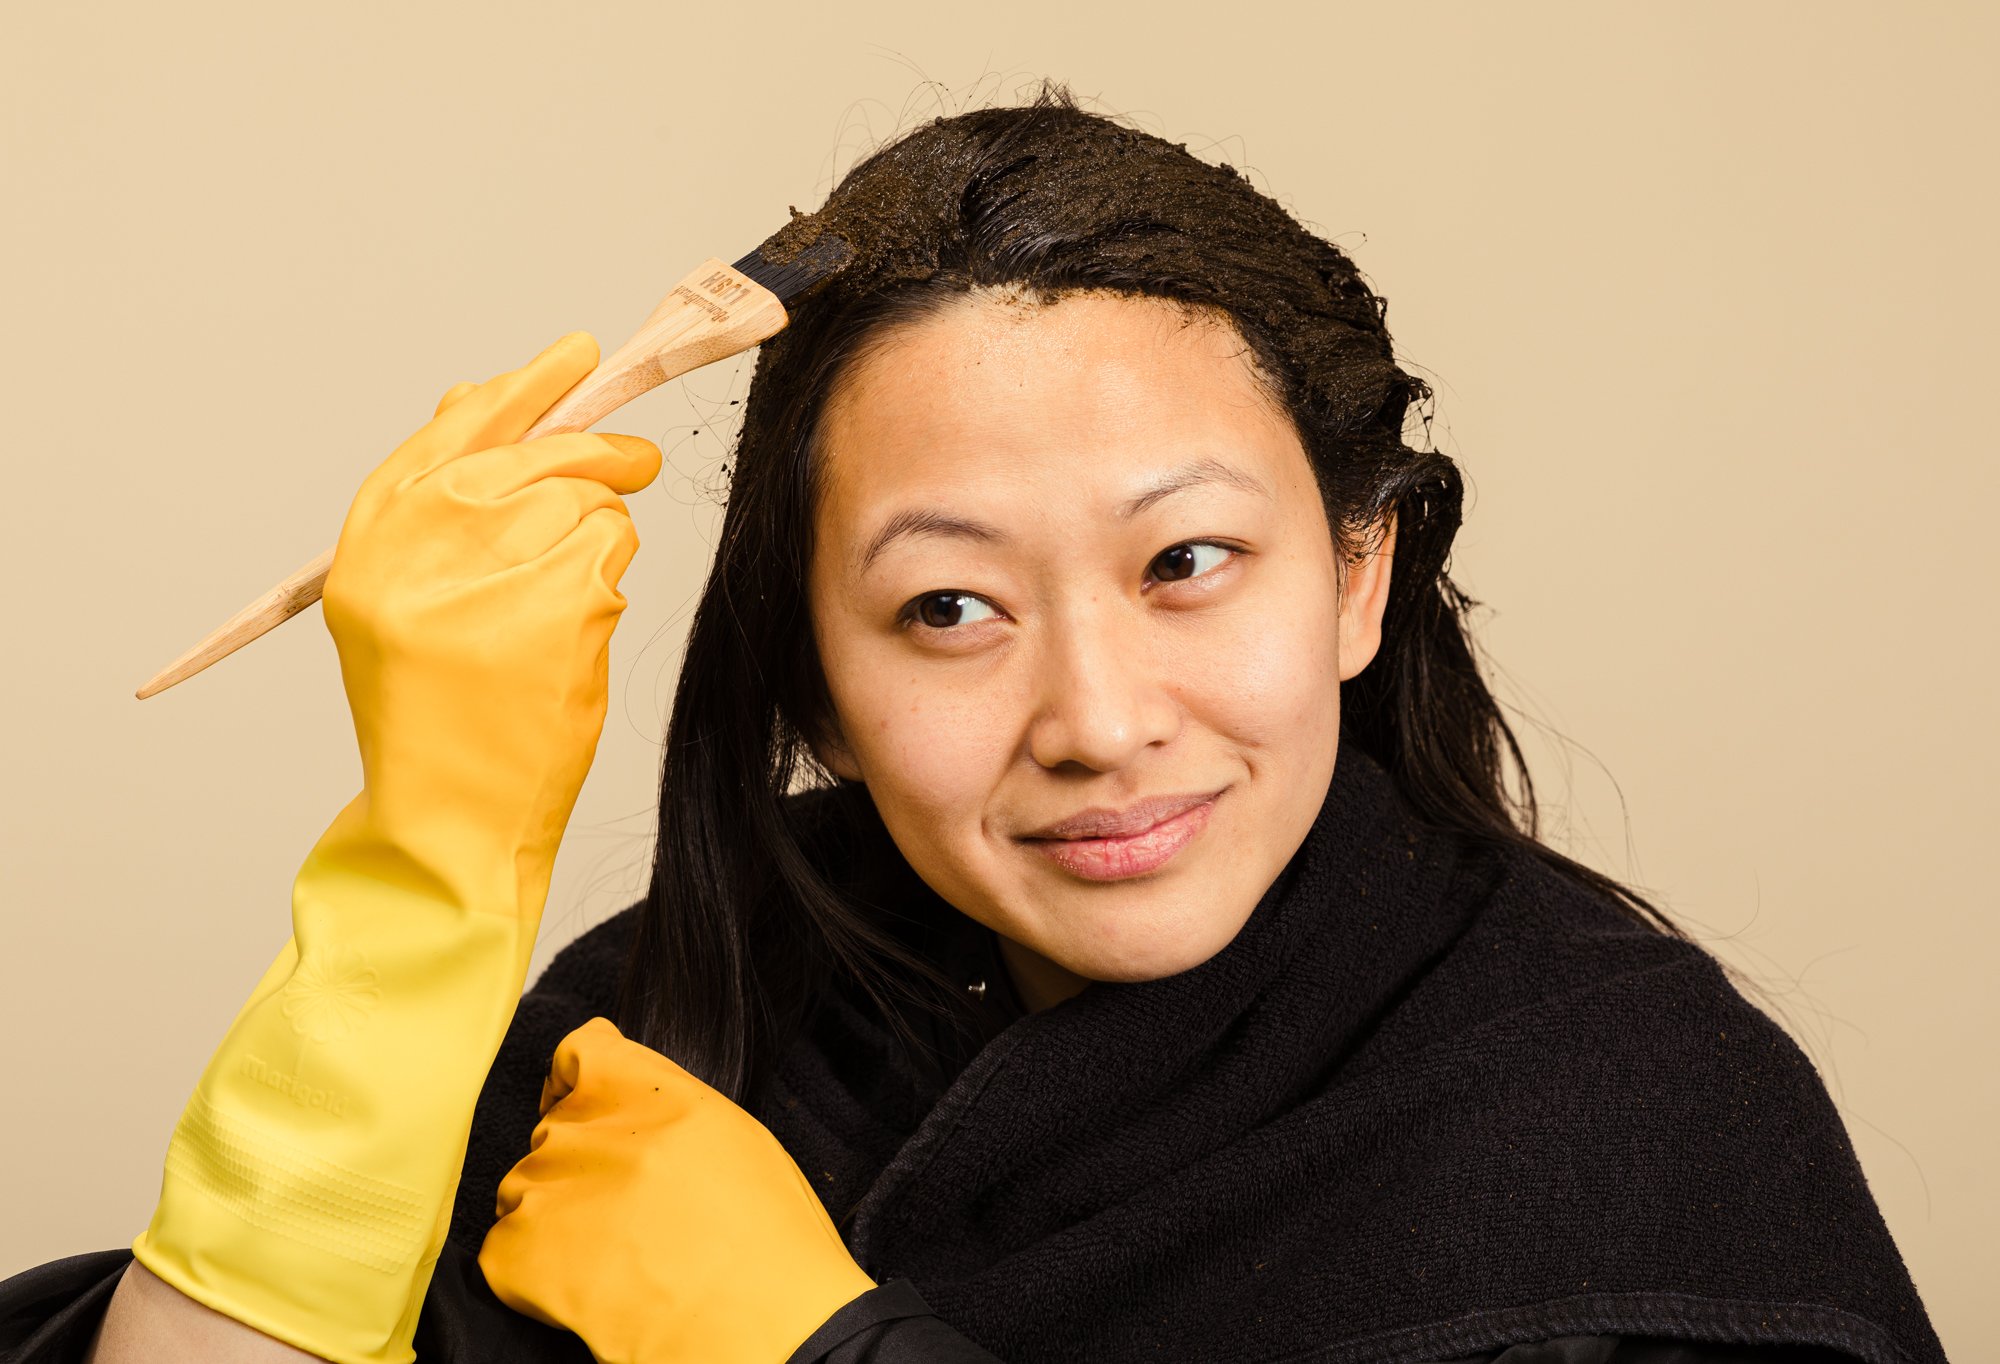
Step 2. We suggest starting at the roots of the hair with a tint brush, working from the nape of the neck upwards, followed by the sides. You’re working with crushed leaves mixed with cocoa butter and you have to get as much of that onto your hair as possible to get the best colour.
Step 3. Wrap the hair for warmer red tones, or leave it unwrapped and do something steamy (like having a hot bath) to help it go darker. After a couple of hours, it’s pretty much done its thing.
Step 4. A little trick when removing is to rinse the bulk of the henna out, then use some conditioner to lift the stubborn bits away before you shampoo.
What’s next?
You can apply another coat of henna as soon as your hair is dry if this is part of a two-step henna application, or wait a while. Each application makes your colour better, your hair shinier and makes the mess worthwhile.
How to care for dyed hair?
Once it’s on, how to care for your dyed hair? Click here for tips on hennaed hair care.
Ready to get cracking? Find your perfect henna hair colour here or
You can learn more tips learn about the history of hair colouring and henna in True Colours: Hair Colouring For The Curious And The Cautious, published by Lush.
Homepage -